This big cupcake was for a very special birthday for a most fabulous friend!
I followed this video tutorial by Dante Longhi. This one took some nights. I ended up not using one layer, as it made the cupcake too tall and it looked more like a drink. I transported the cupcake in 3 parts/layers and easily put it together at the final destination.
Happy birthday, Angie!
Here’s yet another birthday cake hat! They are (usually) fun for the birthday person to wear. 🙂 (And always fun to model balloons on my stuffed animals.)
Birthday cake hat
I injured my thumb earlier this fall and needed surgery. This is the first balloon I’ve twisted since my injury! I needed to use my left hand more as I just don’t have the strength in my right thumb quite yet and it was feeling a bit sore. But glad to be able to twist again!
Here’s another pumpkin; this time, pumpkin poop! Like the poop emoji, except the pumpkin version. 🙂
Whenever I make things like this, kids or people who are around kids recognize what it is supposed to be more easily than others.
I’ve been seeing pumpkins and fall/Halloween decorations pretty much everywhere since the beginning of October!
Last year I made a really large pumpkin balloon, which I would love do again if I can find the time. Here’s a small pumpkin – I really like this cute pumpkin design by Graham Lee. He shows you two different ways to twist the stem – one faster/easier and the more intricate design shown here.
Happy fall!
A special birthday cake for a very special girl. Happy birthday!
This was the first time I used metallic colors for a birthday cake – I like how they look!
Hope everyone is doing okay, especially during this difficult time with the coronavirus. Hang in there and stay safe! Life has changed so much in many ways. Now, whenever I hear cars honking, I first think that it must be someone’s birthday!
Happy birthday, W! Can’t believe you’re two already. It was fun celebrating at Chuck E. Cheese’s – I haven’t been there since I was a kid!
This time I decorated the birthday cake with some small flowers (like the one added to the unicorn.) I’ve enjoyed using the chrome color balloons more – kids and adults like them too!
Happy halloween! This giant pumpkin balloon was made for a Fall Harvest Party. Afterwards, I fixed the popped balloons and it sat in my living room for a week and was used as a pumpkin playhouse! I removed one balloon in the back so our playhouse could have a window.
This wearable raspberry balloon is probably the largest balloon I’ve made (besides the organic balloon arch.) I listed it under “hard” for difficulty, but it’s mostly more time-consuming than hard.
I used 186 balloons, mostly link-o-loons and round balloons. There are 6 horizontal chains and 8 vertical chains of link-o-loons. I added two 260 segments inside for handlebars.
A very special happy 50th birthday to our friend Chris, whom my husband and I have enjoyed getting to know these last two years. Here’s a special birthday cake hat with the numbers 5-0 attached using some clear balloons. I added an extra structural balloon segment inside the cake in order to attach the numbers. Happy birthday Chris! What a memorable birthday with such fun stories.
On another note, I can’t believe it’s already May and this is only my first post! Time flies. Hope to have a few more posts soon, especially with many different celebrations coming up.
I haven’t posted in a while – just haven’t had the time. But I have been twisting quite often! I will try to get some more posts in this next month!
I think I’ve made more birthday cakes this year than I’ve made in any year so far. This five-sided cake design is one I often make, but each one is just as specially made. I tweak some small details (like colors) for each person. Here are a couple cakes.
Birthday cake
Happy birthday to Ashley! I was so glad I got to meet Ashley and give this to her personally.
Birthday cake
And happy birthday to Joshua! Thanks for inviting me to your party! I used Supergirl colors here, one of his favorite superheroes. You can see I added a yellow balloon layer in the middle.
I mentioned that you can put the balloon in the freezer to make it last much longer, and I was amused when Joshua’s mom sent me this photo of what he did when he got home. 🙂
I’ve been making many different foods recently. Here are healthier ones. 🙂
The pear balloon is pretty easy – I used a small green 5″ round and pushed some air towards the knot to get the pear shape. The leaves are made with two loop twists with a 160 green scrap, and the stem is a brown balloon scrap with just a little air in it to fill it without expanding the balloon. (At first I expanded the brown balloon, but I thought the proportions look better if you don’t – up to you.)
The grapes balloon is made with a purple 260 and green 160 scrap for the stem and leaves. There are many ways to twist the grapes. I twisted a cluster of 4 one-inch bubbles, then a cluster of 5 one-inch balloons, and twisted those two together. Afterwards, twist a cluster of 3 one-inch bubbles to form the bottom of the grapes, and then twist 2 or 3 more 1-inch bubbles and secure it with the intersection of the first two clusters. It may be a little hard to understand my from my description, but just give it a try and maybe you’ll come up with a new design. 🙂
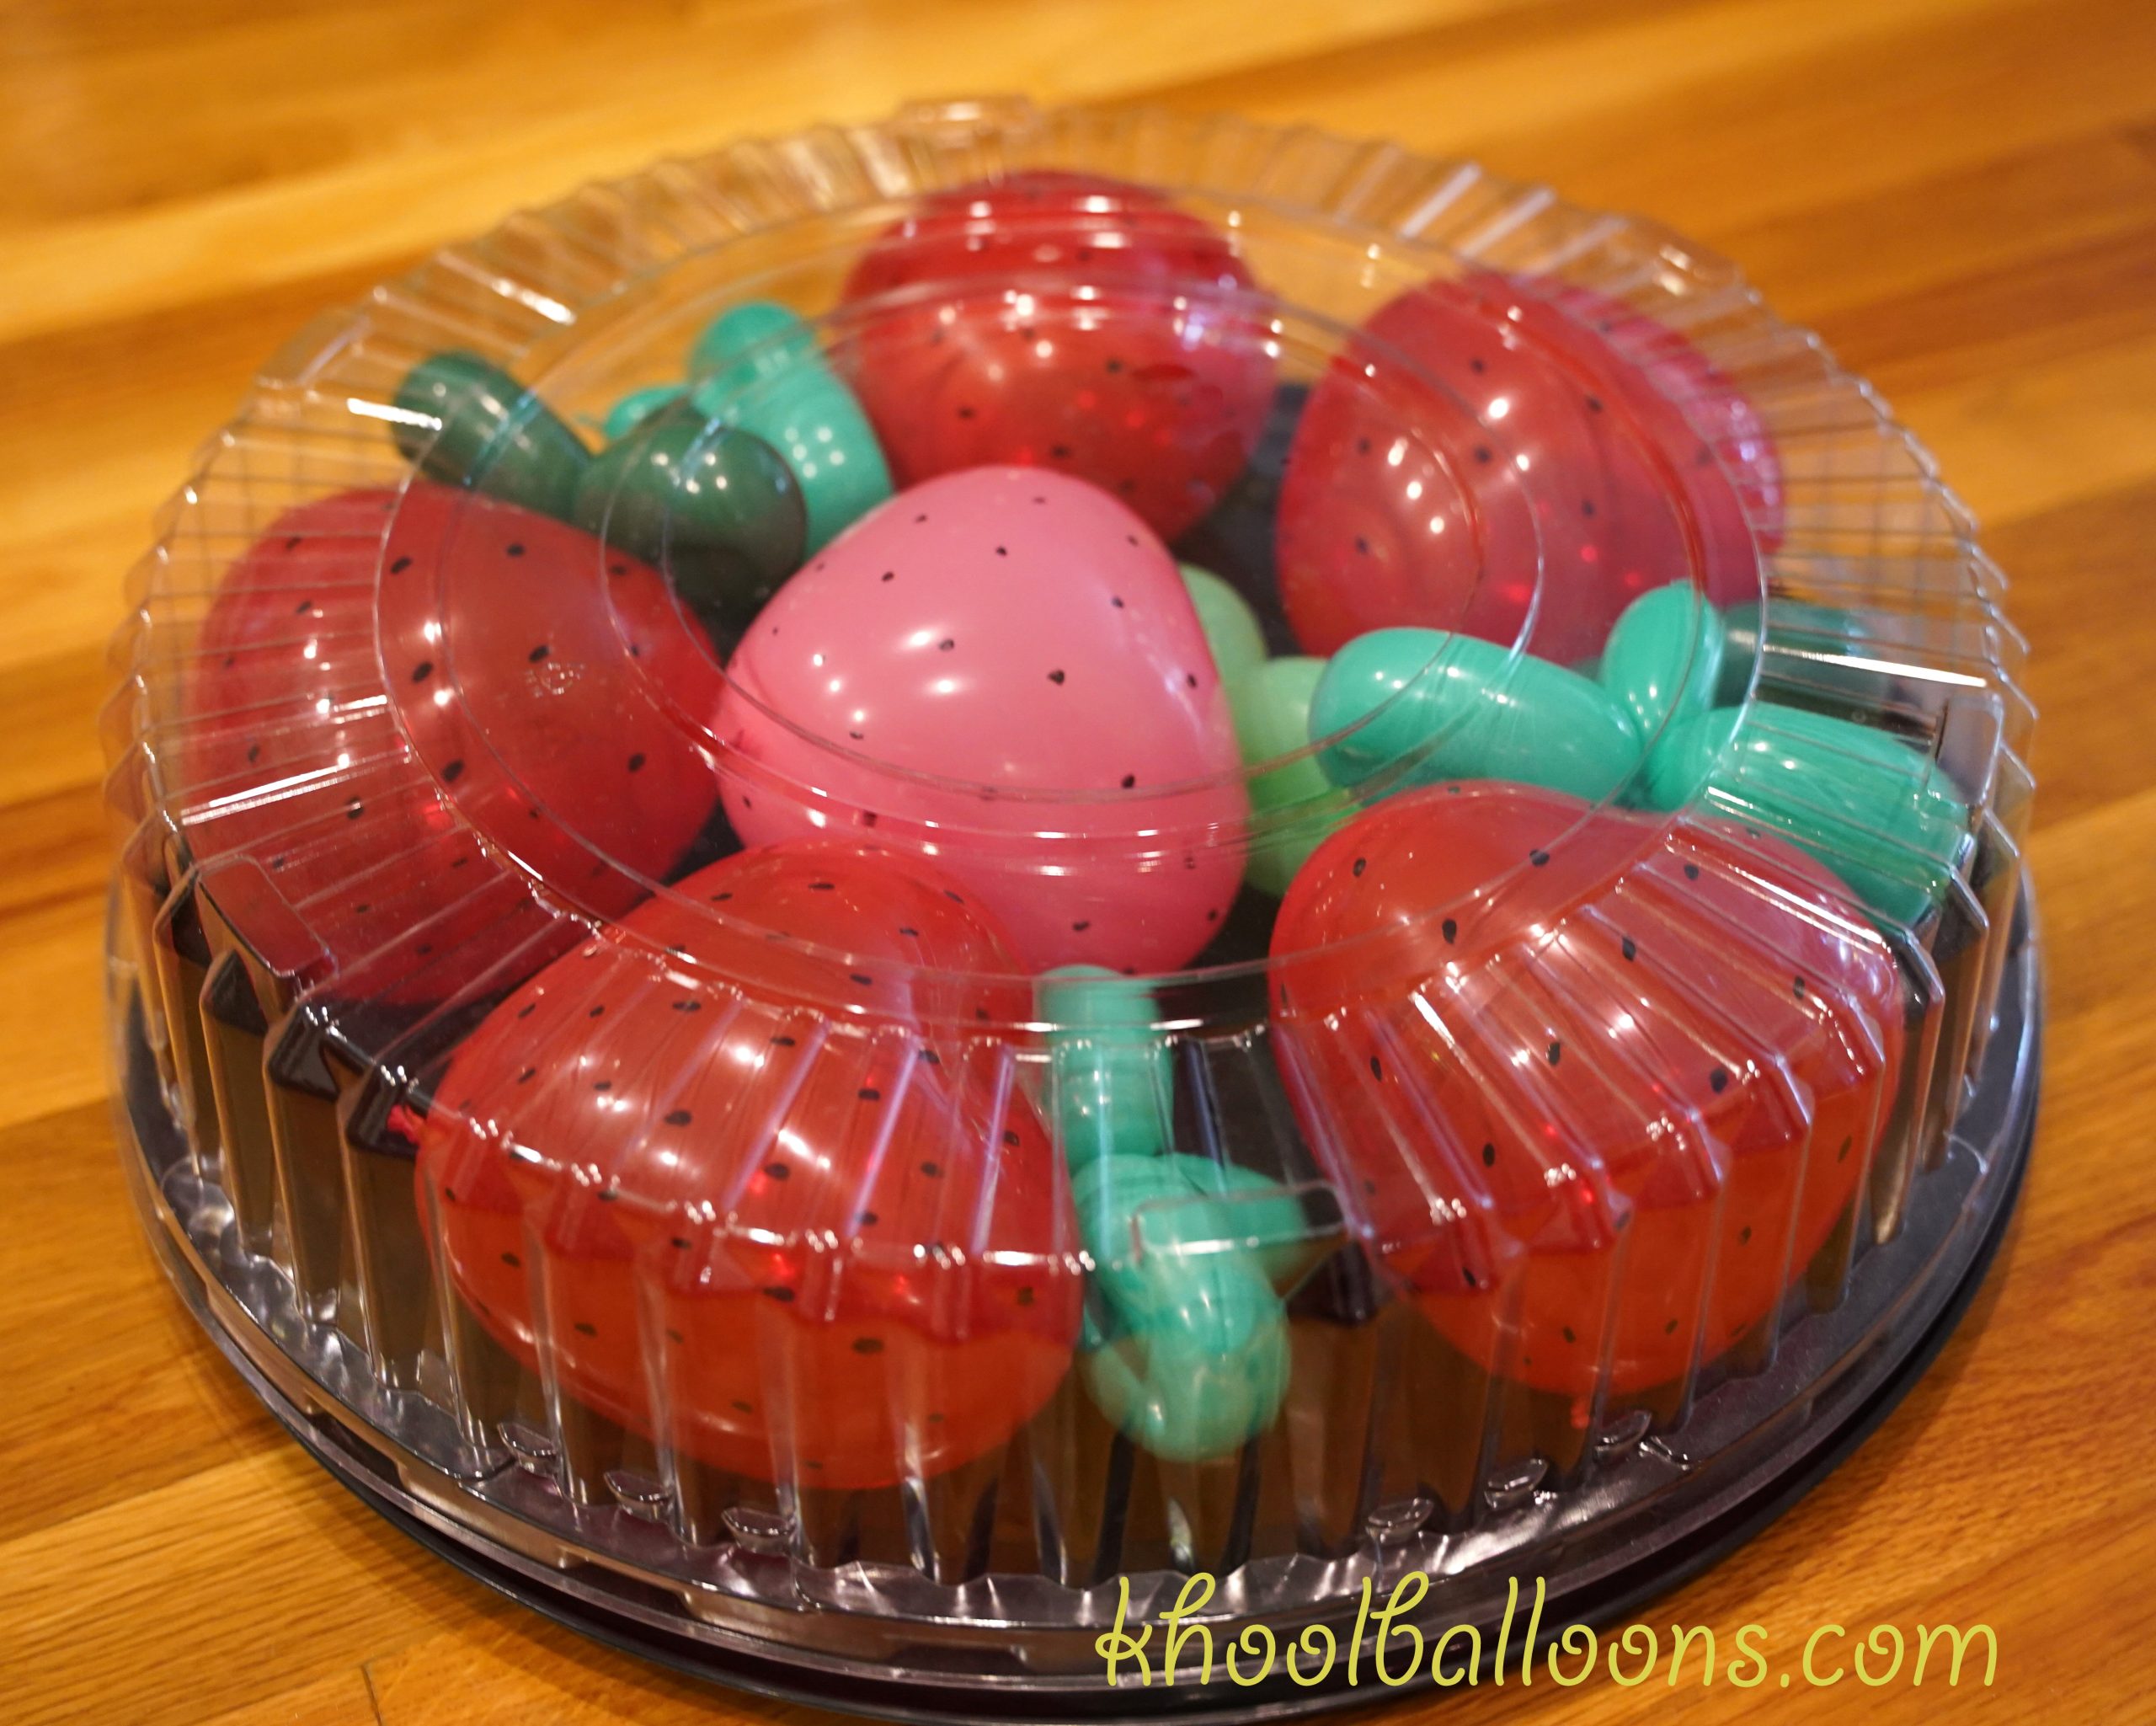
If you like fruit, check out the strawberries I made before.
A friend invited us to a BBQ, so I thought I’d bring some corn. 🙂 As I’ve said before, I love bringing balloon food to events. Kids and adults enjoy them.
To make this balloon, you’ll need three 160 balloons. I used yellow, and also a white and golden rod for different color kernels. You can use other colors for other varieties of corn. Also, you’ll need a white scrap for the eyes and a green 160 balloon for the husk if you’d like. You’ll use a simple weaving pattern. Check out Sergey’s video for instructions. Use a marker if you want to add a face.
Corn
What happens when you squeeze balloon corn? It becomes popcorn…hahaha
I was stopping by a brunch at a friend’s place and thought I’d bring cupcakes. I love balloon food. 🙂
Cupcakes
This balloon is quick to make, but requires a more advanced twist tulip twist and a couple pinch twists. You’ll need a 5″ round, a 160 balloon for the frosting, and a ~4″ red scrap for the cherry. I saw these in a video tutorial by Scott Kazan. I have so many blush 5″ rounds, and am glad I found another way to use them!
Cakes are high on the list of balloons I twist. (Who doesn’t like cake?) Here’s one I made for a Christmas party. I added a red stripe on the sides to make it a little more festive. Merry Christmas!
I came across this pretzel balloon while reviewing some of the fun and super cool creations by Sage the Balloon Sage. It’s an easy balloon to twist and only requires one balloon. Add “salt” with a white paint marker. I always get a kick out of serving balloon foods to guests. 🙂
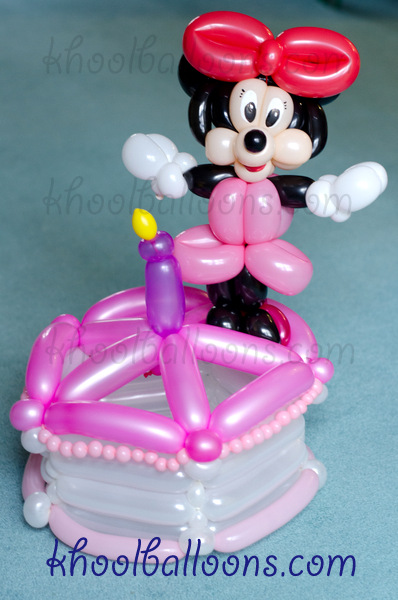
This birthday cake was made for a fun, energetic little girl who LOVES Minnie Mouse! Happy Birthday Kylen! 🙂 It was so great to celebrate with you! Can’t believe you’re growing up so quickly!
This balloon is a birthday cake balloon with a Minnie Mouse balloon on top (the feet are squeezed in.) I had thought about twisting Minnie Mouse permanently in on top of the cake, but this way, you can easily take Minnie off and just hold the Minnie Mouse balloon if you want.
The balloon cake uses the same pentagonal base design you see in most of my ballooncakes. Minnie Mouse is made based on this design by Syan. I need to work on the cheeks a bit so Minnie is less like a chipmunk. Not pictured here is a heart balloon that I attached to Minnie’s hand with “Happy Birthday!” written on it.
I made this cake for a Christmas party today. I wanted to make a cake larger than the one I usually make, and made this two-tiered six-sided cake.
Two-tier cake
To make this cake, I used fourteen white 260s, two green 260s for the top of the cake, six green 160s for the frosting to decorate, and a couple scraps for the candle. It was the first time I made a cake this size and took 2+ hours.
Happy Thanksgiving everyone!
I made three turkeys this week – the easier, inedible kind. 🙂 Took about 10+ minutes each after I figured it out. I saw a photo of another version of a balloon turkey online a while ago and wanted to try to make one sometime.
Turkey
To make this balloon, I used a 350 brown balloon, two 260 brown balloons, and part of a white 160 balloon. First, make the main body with the 350 balloon. Do a three bubble roll-through and then wrap/tie the fourth bubble in place. Second, use a 260 balloons to make a wing, slide it through the body, and then make the second wing on the other side. You’ll probably have some balloon left over – pop it or use scissors to remove it. Third, use the other 260 to make the legs. You’ll likely use the entire balloon for the legs. Lastly, add the bone to the legs using the white 160.