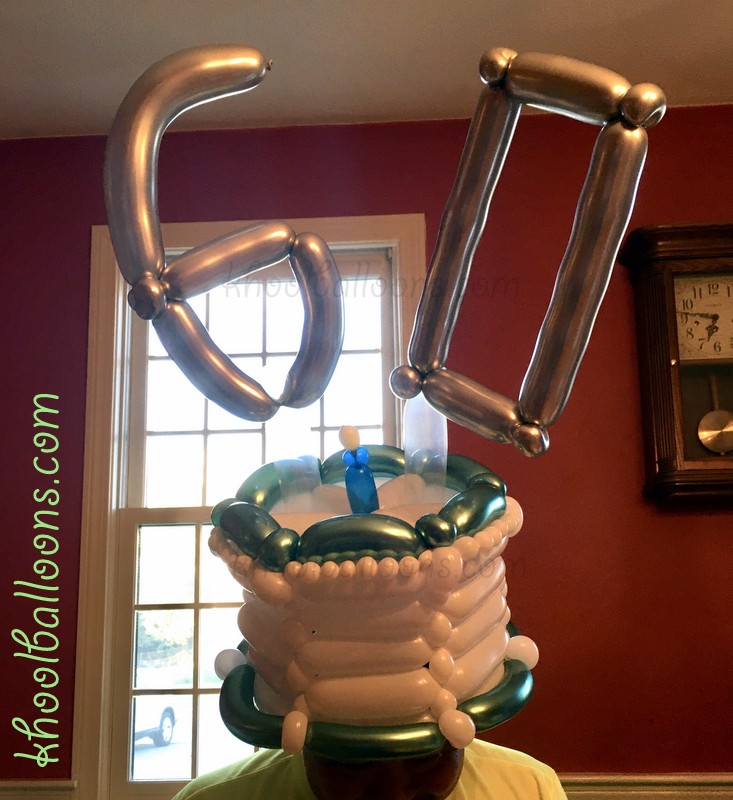
Intermediate
Balloon hats
Dec 15th
This year, I’ve made more balloon hats. They are just fun, and perfect for the birthday person! Here’s a couple recent ones I made for some special birthday people! (And look! I found a way to use my basketball during this pandemic!)
Happy birthday, S!
These are both six-sided hats. The more sides, the more balloon you have to use after building the base. These are also easier than making the birthday cake hat, which requires more twisting, tying of knots, and other details.
Happy birthday, T!
Bicycle
Oct 3rd
I’ve really enjoyed being outside this summer and fall, as I’m sure many have been during this pandemic. This balloon was made for a friend that I went biking with this summer, something I loved doing as a kid and haven’t done in a long time!
I followed Vyacheslav’s tutorial to make this balloon (linked below.) I’ve also made a tandem bicycle based on this design before.
Celtics hat
Jul 12th
Happy birthday, Marc! Here’s a green and gold birthday hat (Celtics colors) for the birthday boy, who is a big Boston sports fan.
I was a little short on time, so I went with a five-sided hat instead of six sides. Next time I make a hat like this, I will inflate the green balloons a little less, so that I can use the ends in the same way I used the gold balloons. I will try to keep track of how much is left uninflated.
Can’t wait till live sports are back on (whenever that may be and when it is safe)!
Peppa Pig
Jun 29th
I followed Sergey Loginov‘s videos to twist this balloon. I substituted a heart for the big round balloon.
This design uses quite a few interesting techniques, especially for the head. The ears are attached on the inside, by tying them after turning the head balloon inside out (similar to how the cherry is attached to the ice cream cone balloon, and how the orange carrot nose is attached to Olaf.) The head also has two balloons inside of it, to help achieve the shape of the head. I’m not anywhere near a master at manipulating balloons inside balloons yet, but I hope to get better at it!
I use dry erase markers when I can to draw the face – then I can erase if needed. But sometimes I only have certain colors in permanent markers.
Happy birthday, S!
Birthday cake
Jun 28th
A special birthday cake for a very special girl. Happy birthday!
This was the first time I used metallic colors for a birthday cake – I like how they look!
Hope everyone is doing okay, especially during this difficult time with the coronavirus. Hang in there and stay safe! Life has changed so much in many ways. Now, whenever I hear cars honking, I first think that it must be someone’s birthday!
Jeep
Mar 10th
A very special happy birthday to D, who turned 16 and got a car. 🙂 Well, a balloon car for now.
This one is a jeep, it even has a spare tire in the back. I wanted to add more detail, but was crunched for time.
It’s always a balance. (If I wanted to get things perfect, I might not ever get anything done!) I had fun making this one!
Happy birthday, D!
Happy bride
Feb 15th
Happy bridal shower to the lovely bride-to-be! I’m so excited for my friend Kirsten and her upcoming wedding.
To twist the hair, check out JocelynBalloon’s princess hair video.
To twist the dress, check out Unicaw89’s princess video.
Birthday cake with flowers
Dec 29th
Happy birthday, W! Can’t believe you’re two already. It was fun celebrating at Chuck E. Cheese’s – I haven’t been there since I was a kid!
This time I decorated the birthday cake with some small flowers (like the one added to the unicorn.) I’ve enjoyed using the chrome color balloons more – kids and adults like them too!
Unicorn
Jul 23rd
I’ve been wanting to make this unicorn balloon (designed by Jackie Ochitwa, video linked below), and then a friend asked if I could make a unicorn! (Get well soon, K – you’ll be back up and running in no time!) This design uses a couple more advanced techniques, so I put it as “intermediate” in terms of difficulty, but it’s a fun one to make and easy to put together.
The more advanced techniques include: (1) a raisin twist to attach the ears to the head and (2) making curly balloons. I used different sizes from what Jackie uses in her tutorial. I used what I had – 260s for the body; 160s for the hair, horn, and flower; and a 6″ heart for the head.
You could use this design to make ponies from “My Little Pony” as well. I’ve learned ponies and unicorns are quite popular, especially with 4-5 year olds – my cousin’s daughter just asked me for one the other day.
50th birthday cake
May 6th
A very special happy 50th birthday to our friend Chris, whom my husband and I have enjoyed getting to know these last two years. Here’s a special birthday cake hat with the numbers 5-0 attached using some clear balloons. I added an extra structural balloon segment inside the cake in order to attach the numbers. Happy birthday Chris! What a memorable birthday with such fun stories.
On another note, I can’t believe it’s already May and this is only my first post! Time flies. Hope to have a few more posts soon, especially with many different celebrations coming up.
My first organic balloon arch
Aug 20th
For my grandma’s birthday party, my cousin and I put together this organic balloon arch, using tons of balloons and fishing line. I used uninflated balloons to attach the arch to the curtain rods. (If your wall is empty, you can get some small removable sticky hooks to attach to the wall.)
This was the first organic arch (or any arch) I’ve made. It was a lot of fun to do! One tip is to start with smaller balloons on one end and gradually get larger. Also, include a couple really large balloons.
I didn’t think to get a nice photo, but here’s one that was taken on a phone late at night after we finished. We were in a bit of a time crunch, but it worked out well. At the party, we took many photos with the balloons in the background. I’d love to make another one sometime!
A very special happy birthday to my grandma, whom I’m thankful to have in my life, and who defied doctor’s expectations about her health this year.
Balloon cake
Jul 15th
I haven’t posted in a while – just haven’t had the time. But I have been twisting quite often! I will try to get some more posts in this next month!
I think I’ve made more birthday cakes this year than I’ve made in any year so far. This five-sided cake design is one I often make, but each one is just as specially made. I tweak some small details (like colors) for each person. Here are a couple cakes.
Happy birthday to Ashley! I was so glad I got to meet Ashley and give this to her personally.
And happy birthday to Joshua! Thanks for inviting me to your party! I used Supergirl colors here, one of his favorite superheroes. You can see I added a yellow balloon layer in the middle.
I mentioned that you can put the balloon in the freezer to make it last much longer, and I was amused when Joshua’s mom sent me this photo of what he did when he got home. 🙂
Tigger
Oct 8th
Hoo-hoo-hoo-hoo! Hopefully you’ll recognize this balloon as Tigger from Winnie-the-Pooh. I made this for a friend who used to dress up in a Tigger costume! Happy Birthday Chi!
To make this balloon, I used 3 orange 260s for the head, arms, body, and tail, as well as an orange 350 for the legs. I also used a blush 260 and 350 for the head and body, a pink scrap for the nose, and a red scrap for the tongue. Afterwards, I added the stripes and eyes with a black marker.
Balloon bouquet
Sep 20th
This balloon bouquet was made for a couple celebrating their new home and soon coming baby boy. My husband and I met them almost a year ago, have gotten to know them well, and are excited for their coming little one. Congrats to you both!! 🙂
In this bouquet, I included a Betallatex 5″ emoji round balloon, which I just received in my recent order of balloons from larocksmagic.com. I decided to order from them this time, as they have a larger assortment of balloons in their catalog at great prices.
For the stems I used the Qualatex Fashion Wintergreen 160Qs. I like using this shade of green for the stems.
Tandem bike
May 28th
This tandem bike was made for my friends who recently got married! Congratulations LL&A!
I based the design on Vyacheslav’s bicycle. I extended the bicycle frame to make a tandem bicycle (and then added another seat and set of pedals.) I only had white round balloons, so the wheels are white instead of silver. Also, I used a 160 balloon instead of a 260 for the tires.
To make this balloon, I used:
Four 260s for the bicycle frame
Two small rounds (or quick links) for the wheels
Some scraps to help secure the wheels
Two black 160s for the tires and pedals
One black 260 for the seats and handlebars
[ Vyacheslav’s bicycle tutorial video ]
Snoopy the Flying Ace
May 15th
It’s Snoopy the Flying Ace! This balloon was for a friend who has logged many hours in the sky. Congrats on your graduation and can’t wait to hear about your new adventures!
I saw this on Pinterest and really liked the design. So I figured out how to make it from the photo. Next time, I will try to make the goggles differently.
To make this balloon, I used a couple white 260s for the body and legs, a white 160 for the arms, a white heart for the head, two green 260s for the hat, a red 160 for the scarf, a brown 160 and black 160 scrap for the goggles, and a black scrap for the nose. The body is pretty straightforward – the head is the more complicated part. The nose was attached the same way I attached the cherry to the ice cream. I also twisted a side wall bubble in the heart balloon to help attach the head.
Hat
Mar 15th
Princess Leia
Dec 31st
Closing out 2016 with this balloon…
I’ve been wanting to make another Star Wars balloon of some sort, having recently watched “Rouge One” and “A New Hope” again. Thank you, Princess Leia!
To make this balloon, you’ll need:
- two brown 160s for the hair
- one 6″ blush Quick Link for the head
- one white 160 for the arms
- one blush 160 scrap for the hands
- one gray 160 for the belt
- one white 350 and one white 260 for the body
This balloon design is similar to many of the other princesses I have done, but I took some time figuring out how I wanted to do the hair and head. I used a Quick Link for the head. (Quick Link balloons have tying places at two ends of the balloons, both of which can be used to attach the balloon.) I used the two ends of the Quick Link to attach the hair. If I had remembered, I would also have inserted a raisin into the balloon to attach the head to the body. To create the hair buns, I used the same technique used to create the cupcake frosting.
Penguin wearing a Santa hat
Dec 27th
Hope everyone is enjoying the end of 2016. I am off from work and have had the chance to do a little more twisting – I plan to get a few more posts in this year. I made a couple of these cute Christmas penguins to put in some gift bags last week.
To make this balloon, you’ll need a black 260, a white 260, a red 260 (scrap), and orange and white 160 scraps. I followed Vyacheslav’s tutorial video. He also adds a Christmas tree and present to the penguin balloon. Penguins are a great balloon to make – they are popular birds, super cute, and a great way to use up any extra white and black balloons.